

Last time, we looked at the essentials of placement when hanging pictures. Hanging pictures is something you can do yourself, so this time, we look at the different ways of getting your pictures up on the wall.
1. Stick the small, lightweight, frames.
Frames that are light do not need elaborate hooks, wires and tool. A bit of double-sided adhesive tape at every corner will do the trick. Use good quality double sided tape, like those made by 3M.
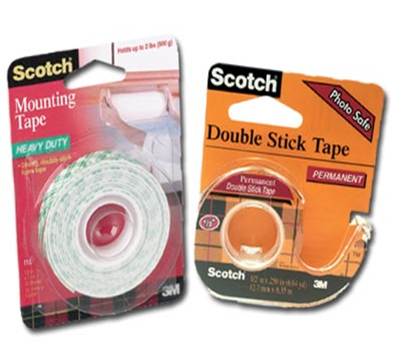
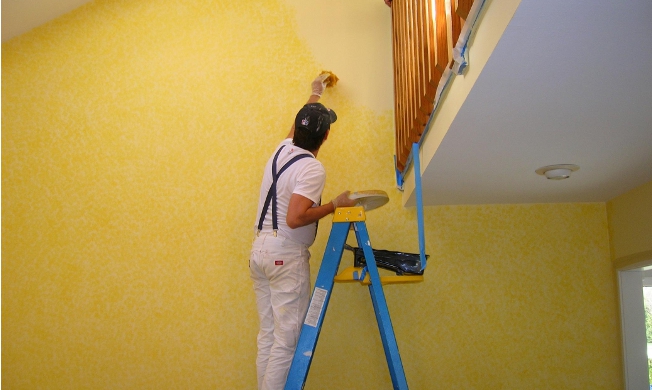
Before using tape, it is important to check your wall condition. Double-sided tape sticks to a lot of surfaces, but “white-wash” is not one of them. If your wall paint peels, then your frames will fall. It’s also safer not to tape up frames with glass, as it could be dangerous if the frame falls and breaks. Also, don’t use tape on wallpapered walls; if the frames fall or you take them off later, you may lose a patch of wallpaper.
Before you do this yourself, plan out your picture placement. Make small guide marks for the corners of your frame on the wall in pencil. Ensure that these guide marks are absolutely straight. For this, you can use a spirit level, available at many hardware stores, or a laser level, which is a more expensive, but easier, way of getting a level line on a wall. If you do not have these, in a pinch, you can measure the distances from the floor to the guide marks accurately with a measuring tape. You could also use a weighted string to ensure that the vertical marks are straight.
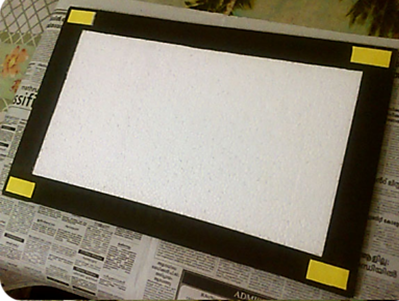
First stick the tape to the frame. Make sure that the tape does not stick out of the frame, so that it shows afterwards, and also that it’s firmly in contact with the frame. Sticking it on to the wall is a bit tricky, as you’ll have to unpeel the protective strips, and then place the frame squarely on the guide marks you’ve made. Remember that once the tape is in contact with the wall, you’ll not be able to move the frame, so position it in the air, above the marks, and quickly press it down.
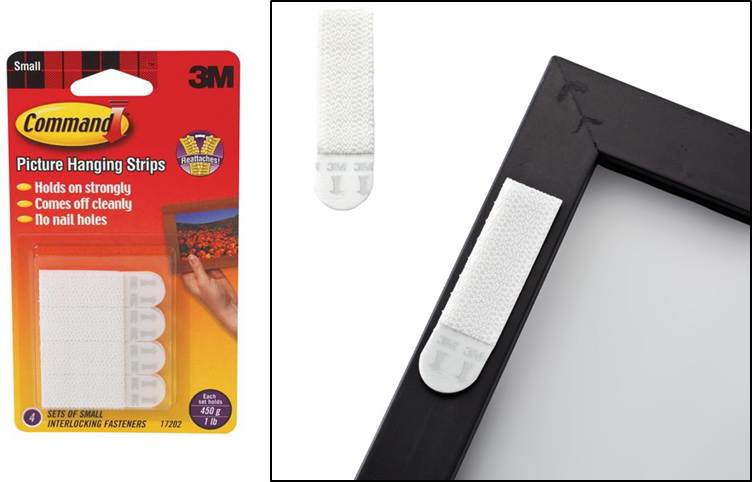
A variation on double-sided tape is 3M’s velcro picture hanging strips. When using these, make sure your frame is under the weight limit specified on the strip packaging.
Hanging the picture directly from two hooks involves a lot more effort, as you have to ensure that the wall hooks are absolutely level, and that the frame fasteners are level too. Hanging from a wire allows you to adjust the level anytime.
2. Hang the larger, heavier, pictures
Larger pictures in heavier frames or those with glass need better support. These frames usually have two fasteners at the back to which you can attach an iron wire. You can then hang the picture from the wire on a single hook.
Another approach would be to hang the frame directly from two hooks on the wall.
I would recommend that you use iron wire, available at any hardware shop, to hang the picture, rather than string. String tends to stretch with time, and this means the position of the picture on the wall changes over time.
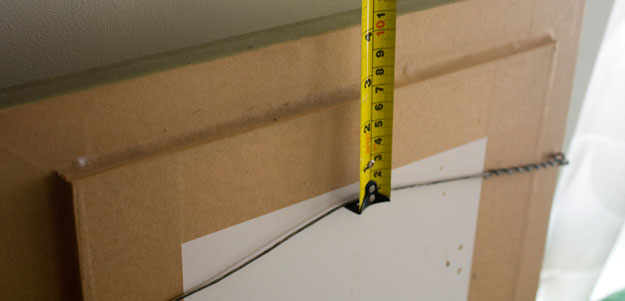
Before hanging the picture, make sure that you measure the stretched offset distance of the wire, as shown in the picture below. Use this to position your picture.
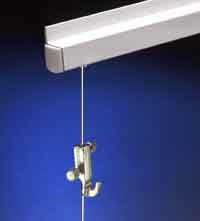
3. Gallery suspension systems
If you have very valuable paintings, you need to protect them. Galleries prefer not having them in contact with the wall. Also, if you change paintings frequently, you’d like to hang them so that you can easily adjust the height without fussing about with hooks and drills. Professional image display systems suspend paintings on thin nylon threads from channels fixed on the ceiling. Adjusting the channel slider spacing and the thread height allows you to change the width and height of the picture easily, as well as the level.
Tools you’ll need:
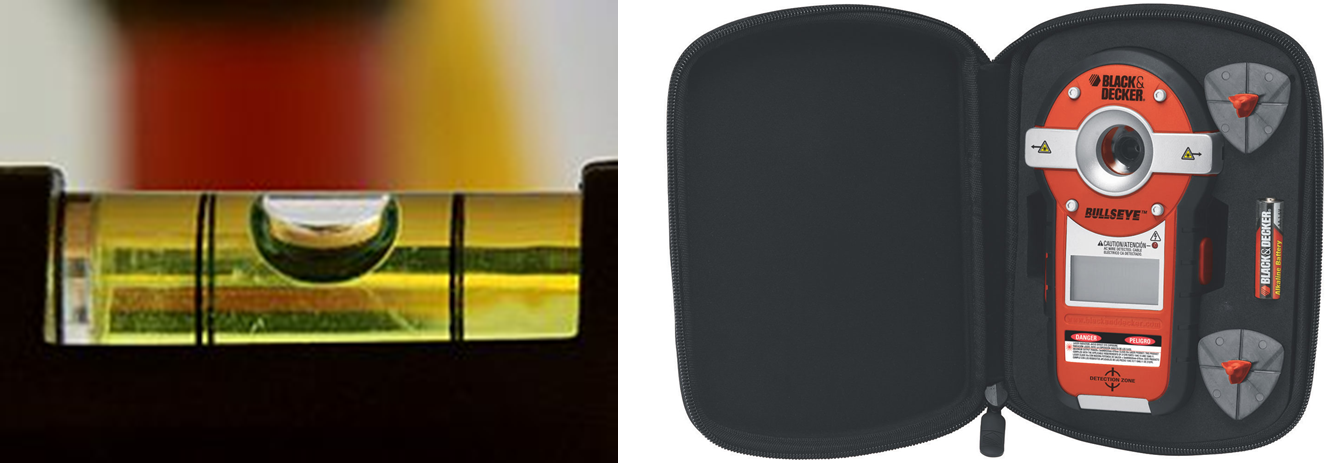
1. Level
A spirit level or a laser level is the most important tool in hanging pictures. Nothing catches the eye in a room as much as a picture hanging askew.
2. Double sided tape
I find this the easiest way to fix light frames without glass.
3. Measuring Tape
Absolutely critical.
4. Pencil
For marking the picture corners, or holes for the hooks.
5. Hooks, nails, and wall plugs, and a drill machine or hammer
The essentials, depending upon your situation.
To get more information & assistance, please submit the form below and our specialist will get in touch with you at the earliest.


