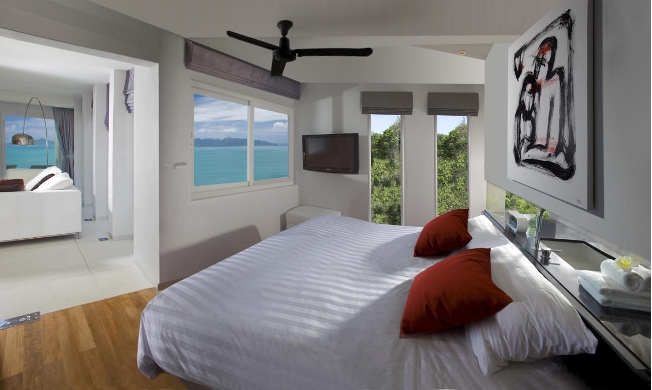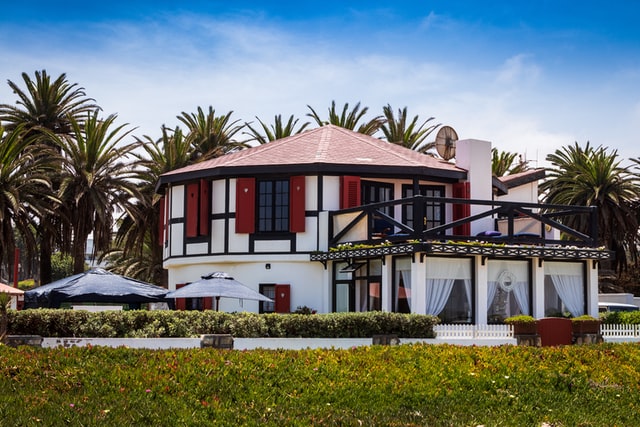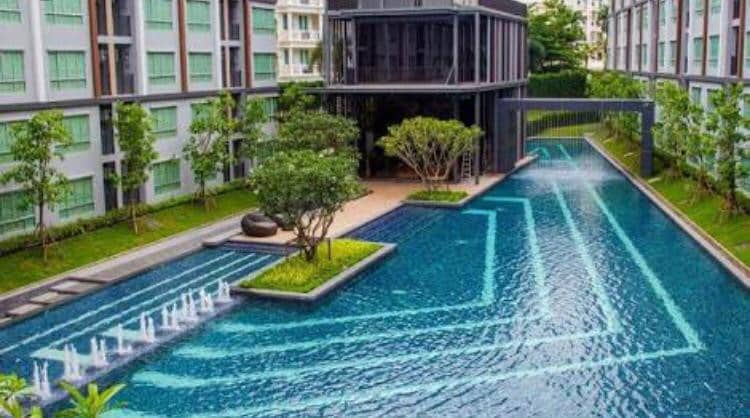
In the last two stories, we looked at preparing your property for photography, and briefing a professional photographer. If you choose to photograph your property yourself, here are some tips on getting the best out of consumer-grade cameras and mobile phone cameras.
On-camera Settings
Find out how to get to your camera settings. Once you’re there, do these:
01. Set your camera to the highest resolution possible
Your camera settings will have a resolution option. In that menu, select the highest resolution possible. This will ensure the maximum amount of detail in your pictures.
02. Select the lowest ISO possible
The ISO setting selects the sensitivity of the camera’s sensor. The lower the sensitivity, the less the amount of grain in pictures. However, this will mean that the camera has to be very steady, because it’ll take longer to take each picture. If you do not have a tripod or sandbag (details below), don’t select the lowest ISO, use ISO 200 or 400.
03. Select Aperture Priority mode
If your camera or phone supports it, select aperture priority mode. This lets you select the aperture (or diameter of the shutter) which lets in light when you take a picture. The smaller the aperture, the more the depth of field, which means more of your picture, from front to back, will be in focus. It also means increased exposures, so you’ll need something to keep your camera steady.
04. Turn off flash
Turn off your camera’s built-in flash. The only thing the flash does is to make photographs seem awful.
05. Turn off digital zoom
Optical zoom is an effect of getting closer to a subject by adjusting the camera’s lens. Makers of cheaper cameras fake this effect by enlarging the digital photograph, as you’d do on your computer. This digital zoom is unnecessary, and it’s best to turn it off.
06. Use HDR, if available
HDR, or High Dynamic Range, is a technique of taking multiple photographs and layering them together to compensate for very bright and very dark areas in the same photograph. Some phone cameras, such as the iPhone’s, have this built in. Use it whenever possible to see if it enhances your photographs.
07. Set exposure delay timers
A major factor in amateur photographs is camera shake. One way of compensating for this is to always use the self-timer function, where the camera clicks some ten seconds after you press the shutter release button. Use this in combination with the tripod/sandbag support method below for steady exposures.
Other tips
01. Clean your camera lens
This is especially applicable to mobile phone cameras. You’d be surprised how much the camera lens is obscured by fingerprints and dust. Clean it with the lintfree cloth you get to wipe spectacles, and a lens cleaning spray if that’s not sufficient.
02. Always support your mobile phone
While the tips above ensure that you’ll get high-resolution and sharp pictures, they also increase the amount of time your camera’s shutter remains open. This increases the possibility that your hand will shake when you are taking the picture, thus ruining it. A stand holding your camera steady will help with this.
If you have a camera, get a tripod. It need not be a large tripod like the ones professional photographers use – a small six-inch tripod will serve just as well. Even mobile phones have tripods nowadays, attesting to their increased utility as cameras. For example, Amazon has these. Another option is a sandbag. This is, as the name says, a bag filled with sand, slightly larger than your camera. You can find readymade sandbags online, or make your own. Just make sure it doesn’t spill.
03. Shoot the same view many many times
Professionals often take a hundred shots to get that one perfect one. Digital photography has no incremental cost for multiple images, so keep taking different photos of the same view. Check them out on a computer, not on your tiny camera screen. Do this till you get a photograph you’re happy with.
04. Process your photograph
Digital photographs can be seriously enhanced on a computer after taking them. There are plenty of free image-enhancement tools online, so use those, or if you can’t figure out how, get your local studio to do it for you.
This concludes my stories on photographing your property. Did you find this series useful? Do you thing I missed out something? Do let me know. Add your comments below.
To get more information & assistance, please submit the form below and our specialist will get in touch with you at the earliest.


