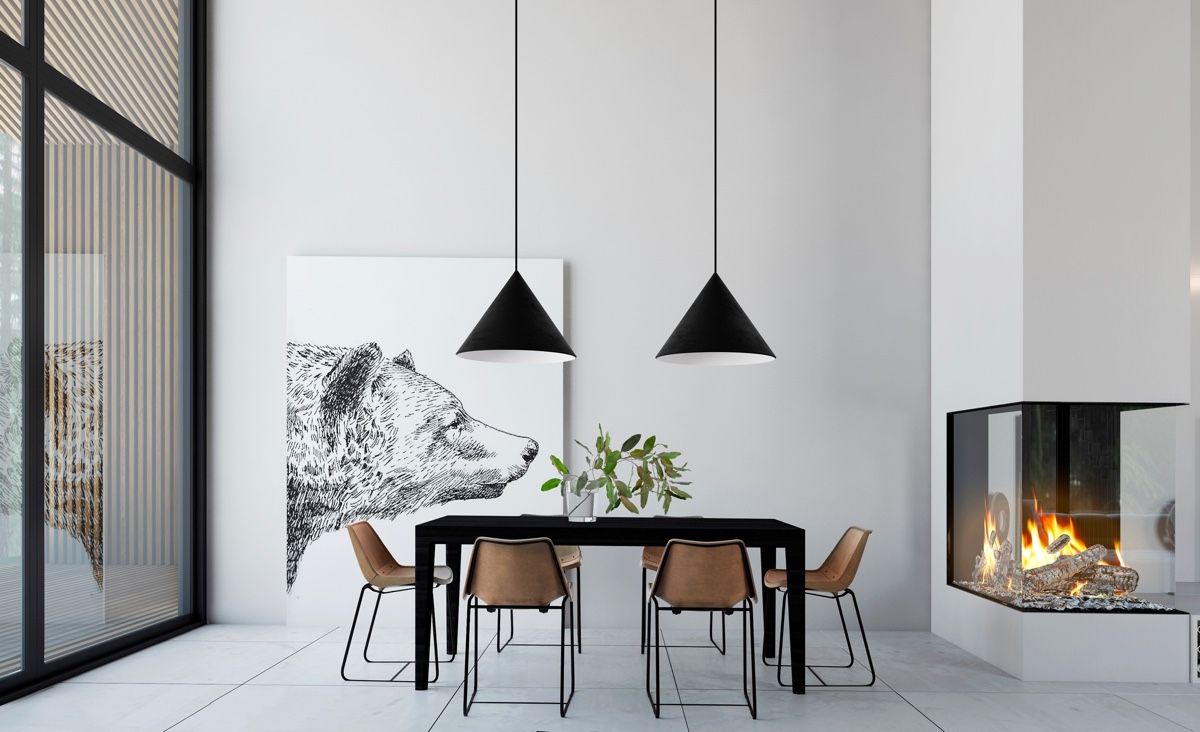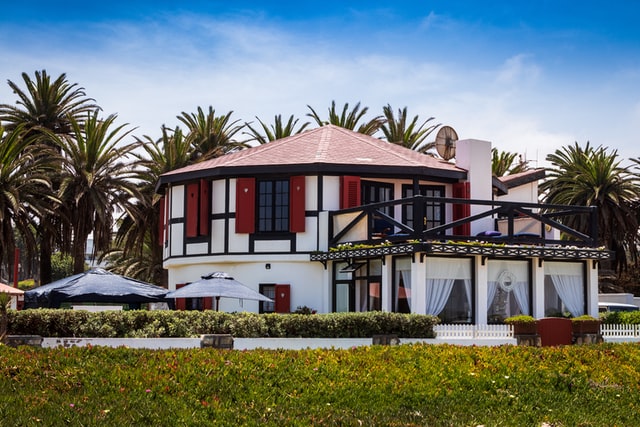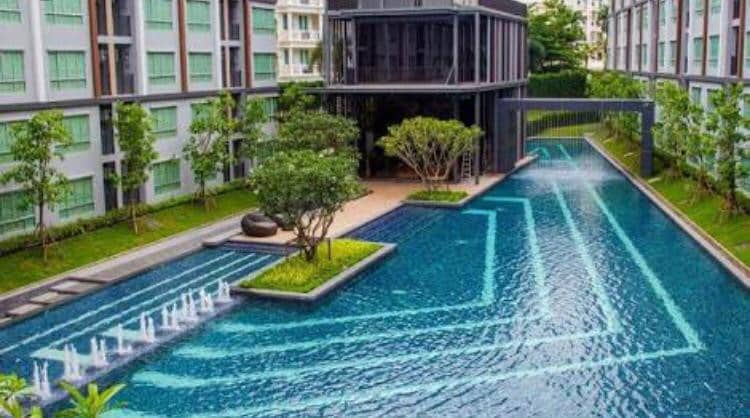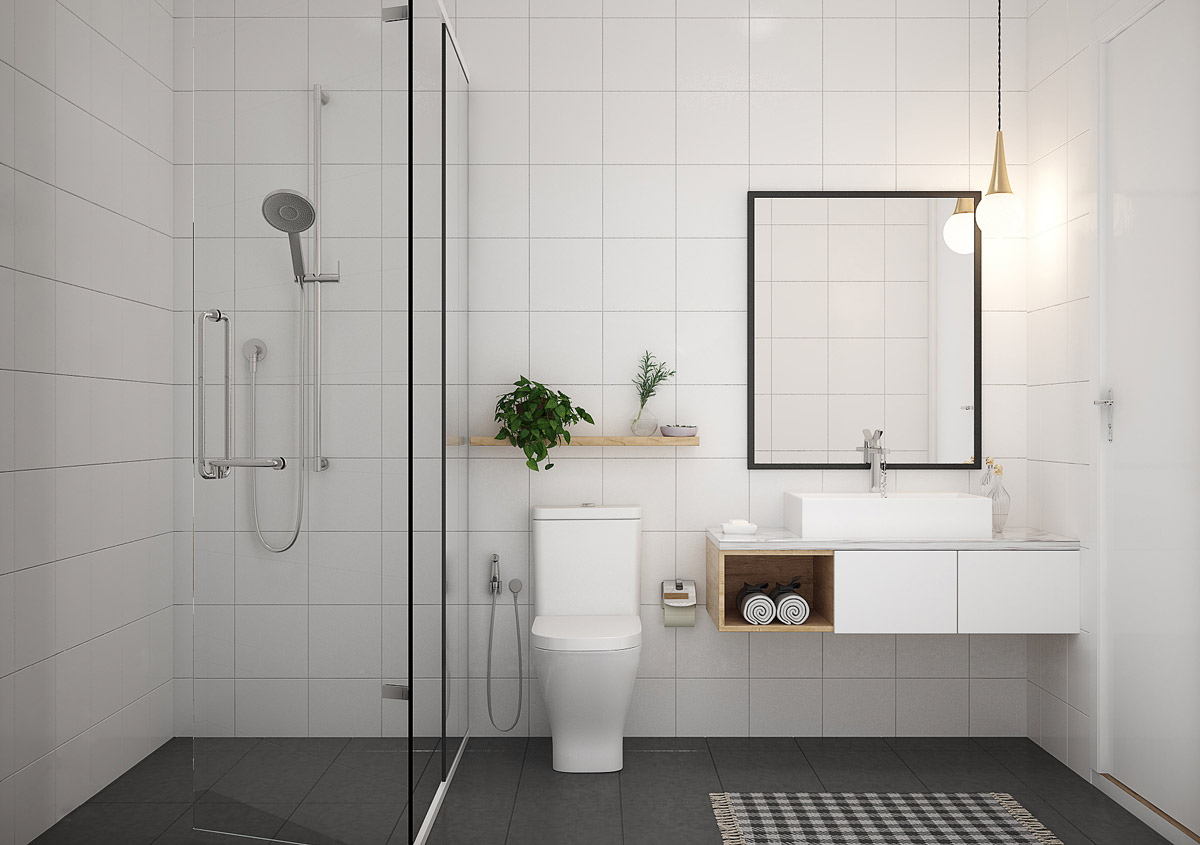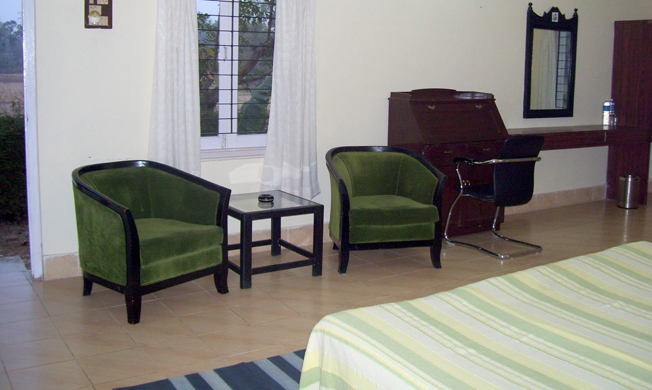
Photographs of your holiday home give the first impression to your prospective guest – they can either intrigue him enough to send an enquiry and make a booking or just as easily turn him away.
Unlike products which can be physically seen and experienced before making a purchase, a holiday home can be viewed only through photographs so it is of paramount importance to get the first impression right. Sometimes, even the best of holiday homes or homestays do not get many enquiries. Poorly-taken pictures is the main reason behind few enquiries and will ensure the traveller moves on to the next property listing.
In spite of this, how many holiday home owners emphasise on great photographs of their property? A good camera does not ensure great pictures. How will it help if you use a high-tech DSLR, and you just point to the interiors of your room and shoot?
Although it might sound simple to just point and click, there are a few things to be kept in mind that will ensure photos really add to your listing. But before you get ready to begin clicking away, here are some things you need to do:
1. Make a list: Make a list of the things you would like the guest to see. This can be the furniture of your living room, the kitchen, and the bedroom(s). Make sure you include shots of your home’s main elements and other special attributes, such as the pool or the fireplace. Do not leave out the front and back of the property, bedrooms, living room, dining room, kitchen, bathrooms, backyard, etc. If there are areas which don’t add value, then do not photograph them. For instance, unless a corner area of a particular room is decorated well, don’t photograph.
2. Clean the area: Remove all unwanted things and make sure your home is thoroughly cleaned first. A cluttered house with newspapers and magazines lying around, soiled utensils in the kitchen sink, an unmade bed, a overflowing dustbin and a dirty and wet bathroom with towels hanging all around, etc. can be a major turn-off to a traveler. Make sure the bedsheets are pressed properly and not creased when you take the photographs. So it is of utmost importance that the house is thoroughly cleaned first before even you think of taking photographs.
3. Lighten up the place: Lighting will definitely make or break a shot you take. Poor lighting can give a very bad impression of your property. The lighting absolutely has to be spot on, to show the rooms of your property at its absolute best. There is a common theory in property photography that, uglier the property, the better the lighting has to be. It is always a good idea to turn on all the lights in the room. The glow from chandeliers, bedside lamps, wall lights, ceiling spotlights, or reading lights add to the charm of one’s home and make it all the more inviting.
Avoid loud and gaudy linens. Most travellers would like to sleep in a bedroom where the bed is donned with soothing-coloured bedcovers and the blankets are not bright and flashy.
4. Check the weather: Unless it is urgent, wait for the right weather before you click your pictures. While it is not something you can control, photos on an overcast sky or late afternoon light, are not the best. Although camera settings can help with this, it is best to take your photos on a bright, sunny late morning.
Once you have taken care of the above, you come to the second stage.
Here are some things to keep in mind when you’re ready to begin shooting:
a. Use a tripod or a steady base: While photographing, make sure that you use a tripod, unless you have a very steady hand. If you don’t have a tripod, keep the camera on a sturdy stool to restrict movement while clicking photos.
b. Present the complete picture: Also avoid taking photos of just one half of a room. Potential guests can get suspicious of what lies outside the frame. So even if you are trying to focus only on the best attributes of a particular room, make sure you give a complete picture.
c. No crooked shots: And most importantly, while photographing rooms from different angles can give the traveller a sense of perspective, it is best to avoid taking crooked shots. So please don’t let your imagination run riot!
d. Avoid using any touching-up tools: Here’s a word of caution. The entire exercise of taking photographs and uploading them in a listing, should be to portray the real picture of the holiday home to travelers and not to deceive them. So, using tools like Photoshop to do away with cracks on the wall and to alter the wall paint, should be avoided completely. The photos you upload should be exactly the same to what the property is in real life.
Now that you have taken your photographs, 50 percent of your work is done. Here is the tricky and most important part. How do you make the best use of your pictures?
Here are some tips to ensure you use your photographs well:
- Download the photos; make multiple copies of CDs and also save them in your mail.
- Instead of blindly posting them anywhere and everywhere, shortlist the portals where you want to list your holiday home.
- Once you have decided on a portal to list your holiday home, check the photograph size accepted by the portal. Re-size the images accordingly and ensure that they are not distorted in any way.
Best of luck! Now you are ready to post your photographs on the internet and let prospective guests see and decide.
To get more information & assistance, please submit the form below and our specialist will get in touch with you at the earliest.

